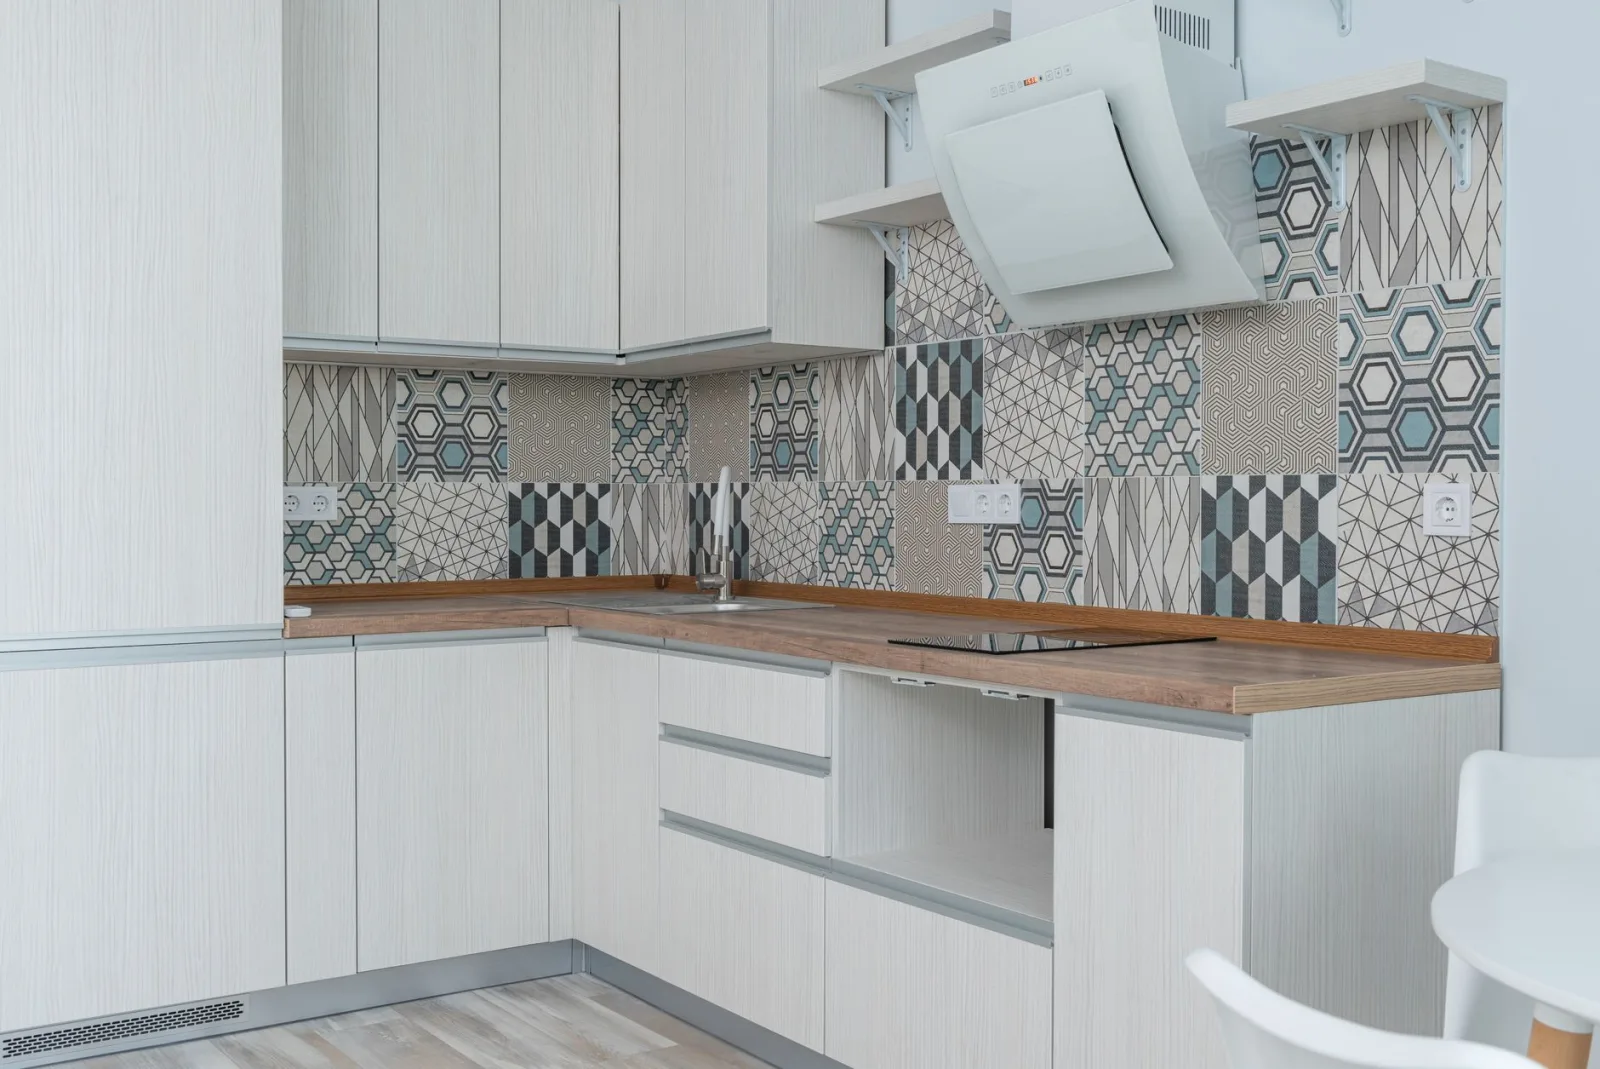
The kitchen that convinced me this was worth writing about had good joinery, a stone bench in reasonable condition, and a splashback of small beige squares that made the whole room look two decades older than it was. The owner had been quoted for a new kitchen. She did not need a new kitchen. She needed about a square metre and a half of wall to stop shouting.
That is the useful thing about a splashback. It is one of the very few parts of a kitchen that can be changed on its own without pulling anything else apart.
Tiling over, or taking it off
First question every time, and it goes the other way from what people expect. Tiling over the old tiles sounds cheaper and often is not.
It works when the existing tiles are flat, well bonded and thin enough that the added thickness does not matter. Go over the whole thing with a knuckle first, the same drummy test we use on showers, because a hollow-sounding tile has already let go and anything bonded to it inherits that.
Where it falls down is thickness. A splashback sits between the bench and the underside of the cupboards, and both of those are fixed. Adding a tile bed plus a new tile pushes the face forward, which changes how it meets the cupboard above, how the edge finishes at the end of the run, and how far the tiles now sit proud around any penetration in the wall. On a wall you would not notice. In a gap that tight, you do.
So on most kitchens we strip. Which brings the other thing people are not expecting.
Removal takes the wall with it
Old splashback tiles come off with the surface of the plasterboard attached to them. Not sometimes, generally. Adhesive bonds better to the paper face of the sheet than the paper face is bonded to the sheet, so the tile comes away holding a layer of it.
That means the wall behind has to be made good before anything new goes on. Skim, patch where the paper is gone, sometimes sheet a section over if it has torn badly. On older places you may find the splashback was tiled directly onto render or onto a sheet that has since gone soft behind the sink, and that changes the job again.
This is the part that surprises people on quotes, and it is why we price making good as part of the job on the kitchen splashbacks page rather than as an extra that appears later. Any quote that does not mention the wall behind is a quote that has not thought about the wall behind.
Setting out is what makes it look expensive
A splashback is set out to the joinery, not to the wall, and this is the single thing that separates a good one from a bad one.
The bench and the underside of the cupboards are dead straight. Walls in most houses in the Illawarra are not, particularly anything built before the seventies. If you set the tiles out to the wall, they will run visibly out of parallel against the cupboard line above and everyone who walks into the room will see it without knowing why the kitchen looks off.
Related: think about where the cuts land before the first tile goes on. A run that starts full-tile at one end and finishes with a five-millimetre sliver at the other is what happens when nobody worked out the centre first. Same for the vertical — a row of half tiles jammed under the cupboards reads worse than a slightly narrower row planned that way from the start.
Tile choice interacts with all of this. Large-format tiles need a flatter wall than small ones, because any bow in the substrate shows up as lipping between edges. Subway tiles are forgiving. Anything with a rectified edge and a two-millimetre joint is not, and stone and handmade tiles are their own conversation about sealing and variation. The tiling page covers the rest of that.
The two jobs that are not ours
Power points in a splashback are common and they are the thing that most often stops a job being straightforward. Tiling around an existing point is normal tiling work. Moving one, adding one, or taking one off the wall so the tiles can go behind the plate is electrical work, and in NSW that always needs a licensed electrician with no dollar threshold involved. Same for anything to do with a gas cooktop or its connection.
What that means in practice is sequencing rather than refusal. If the plan involves points moving, your electrician comes before us and again after, and the three of us agree the dates before anything starts. We tile around what is there and we do not touch the fittings.
The tiling itself is general trade work. Wall and floor tiling sits under the $5,000 threshold in NSW like other general building work, so a splashback replacement on its own is well inside what we do. It is only when a splashback turns into a whole kitchen that the value crosses the line and you are looking for a licensed contractor instead — the licensing rules post explains how that is worked out.
If you have a kitchen you do not hate and a splashback you do, that is the cheapest good decision available in the room. Send us a photo of the run, including the ends and anything sitting in the middle of it, and we will tell you whether it strips or goes over.
Want a hand with this at your place? Get a free quote or call 0450 959 936.